Install a Chain-link Fence
Chain link fencing is everywhere in various forms and widths, demarcating our homes and businesses. It protects us against intruders and shows us where we can and cannot pass.
Most of all, it is the ultimate utilitarian divide. It's there, but it's not; a truly equitable alternative to its concrete or timber counterparts.
It has many names; wire netting, wire-mesh, chain-wire, cyclone, hurricane or diamond-mesh fencing, and, by definition it is a 'woven' fence made from galvanised steel wire.
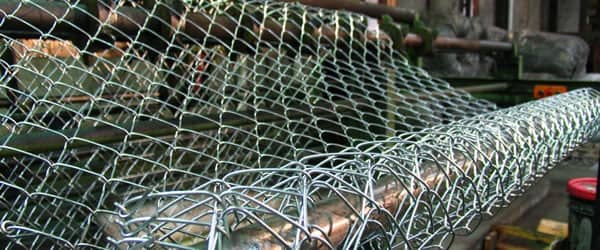
The wires run vertically and are bent into a zig-zag pattern so that each "zig" hooks with the wire immediately on one side and each "zag" with the wire immediately on the other. This forms the characteristic diamond pattern.
To make the zig-zag, galvanised metal wire is wound along a long,
flat rotating blade creating a 'flattened' spiral. The spiral continues to rotate past the blade and winds its way through the previous spiral that is already part of the fence.
When the spiral reaches the far end of the fence, the spiral is cut near the blade.
Next, the spiral is pressed flat and the entire fence is moved up,
ready for the next cycle.
The end of every second spiral overlaps the end of every first spiral. The machine clamps both ends and gives them a twist.
This makes the links permanent.
There are many ways to install a chain link fence,
influenced by budget and location.
Below are my tested recommendations.
Time to make a plan of action.
The Planning
Firstly, measure and draw out a simple map of the area
you wish to fence.
Mark the end, corner and gate posts first.
These are commonly referred to as "terminal posts" and must be set
in strong concrete footings, or otherwise anchored, to prevent leaning under the tension of a stretched fence.
Then mark the posts set between the terminal posts, called "line posts" at intervals not to exceed 10'. I prefer an 8' spacing which gives extra strength to the fence.
On hill slopes, 'stepping' your fence may be more appropriate than continuous height, which can lead to some very awkward angles, lengths and instability. So find the spots which will require stepping and mark these for special attention to height at the junction of the fence.
You should by now, have a comprehensive ground plan for action.
Height of your posts will be the next consideration.
The posts may be steel tubing, timber or concrete and may be driven into the ground or set in concrete. For my example, I have used steel tubing with concrete footings, which gives a sturdy and attractive finish.
In my personal experience, all terminal posts for a five or six foot chain-link fence should be set perfectly upright, into concrete footings at least 16" deep, with line posts at 12".
I recommend cross cutting the end of the pipe up to 4" and flaring the four pieces. This will create a strong anchor base in the concrete.
Remember to place concrete at the base of the hole before setting
the pipe, which will seal the base from corrosion. This may take a little longer, but with an angle grinder and good pliers, this detail will give much required stability.
If your are using 6' (72") fencing, a terminal post would then be 72"+16"+4"=92" and a line post 72"+12"+4"=88".
For a step down post, add the height of the post (72") to the step
to the lower level (x"), plus the footing (16") and the pipe flare (4"). Then the lower section of the chain link will attach to the step down post using the new 'ground level'.
With these considerations, you should be able to estimate how many posts at what lengths you will require, how much railing
(same length as the chain link fencing), how many feet of chain link fencing, how many pipe caps and what kinds you need and how much wire for ties.
Ordering
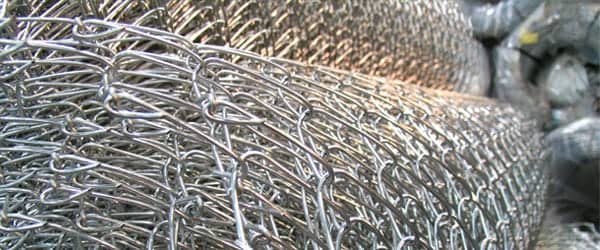
ECMIL offers four, five and six feet wide rolls of 3mm wire, 75 feet in length. Two inch steel fence poles and one and a half inch horizontal rails are also available, along with accessories such as tying wire, post caps, eye caps, barbed wire caps and arms.
NB. One and a half inch horizontal rail piping
can be used as posts for 4' fencing wire.
A call to your ECMIL sales representative will assist you in generating
a precise order with all the necessary components which you will need to make a successful fence.
Doing
Once you have your terminal and line posts in place and have given your concrete enough time to reach rigidity, make a solid initial attachment of chain link and take your time.
Tie the fence to the line posts with aluminum or galvanized steel wire. You can stretch a bottom tension wire, sometimes referred to as "coil wire", between terminal posts to help minimise the in and out movement that occurs at the bottom of the chain-link mesh between posts.
Top and bottom horizontal rails are used on many chain-link fences, which add stability and rigidity.
Alternatively, once stretched, a bottom wire should be secured to the line posts and the chain-link mesh "hog ringed" to the tension wire, installed before the chain-link mesh. This, depending on location,
can be concreted in to create a fence footing and further protect the bottom of the fence from compromise.
Attach the fence at one end, stretch it, and attach to the next post. Place ties top, bottom and centre, then two more in the centres between top and bottom (total of five).
Continue until you reach a post which is a logical end point
(such as a gate post, or 'step down'), tie off, then easily remove
the excess by 'unscrewing' or 'unweaving' a wire.
The difference between good and great always lies in the detail.
So make the call to ECMIL.
We will help you to be methodical and logical about your plan and your order, so that the materials you purchase help you to build a fence made to last and withstand the many natural and man made problems it will encounter.
You will have turned a simple fence into
an attractive long term asset to protect your home or business.


